I’m not gonna lie… the last month was a blur, and its probably better that way cause not one bit of it was good. But, I’m here hoping this hop changes my luck the way it always changes my mood for the better! The creative time sure did me some good! We’re back at it this month, using supplies we’ve squirreled away!!!

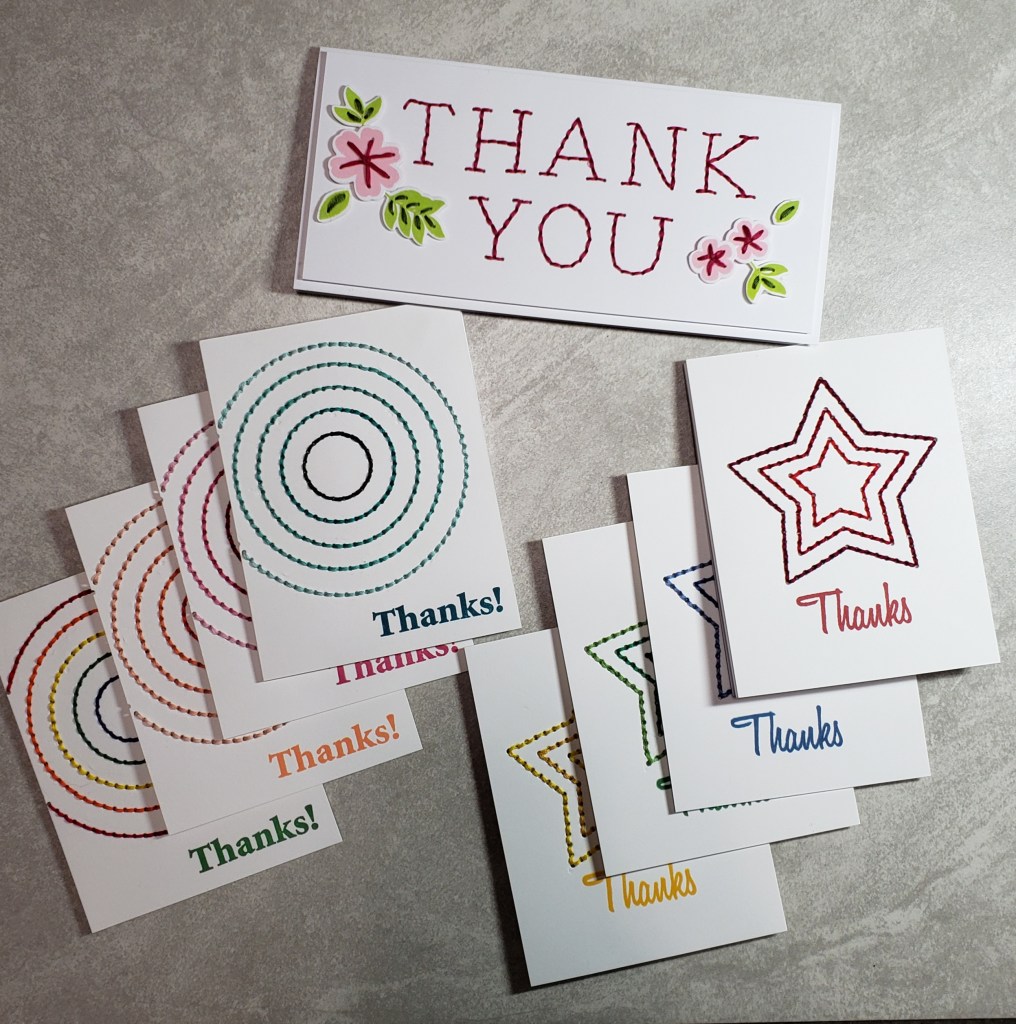
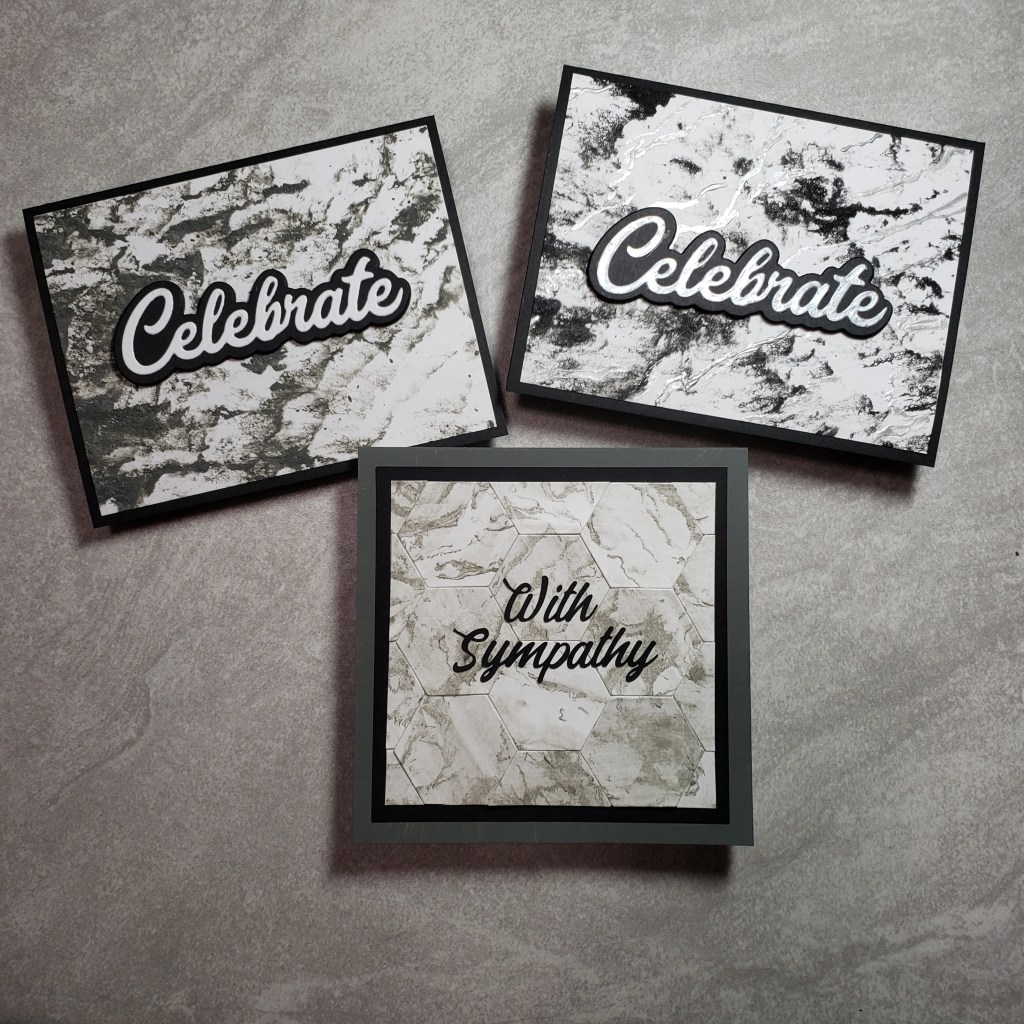
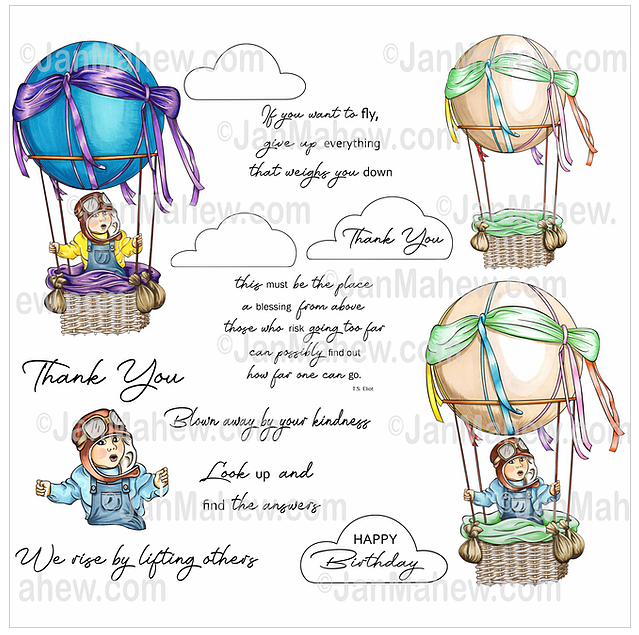
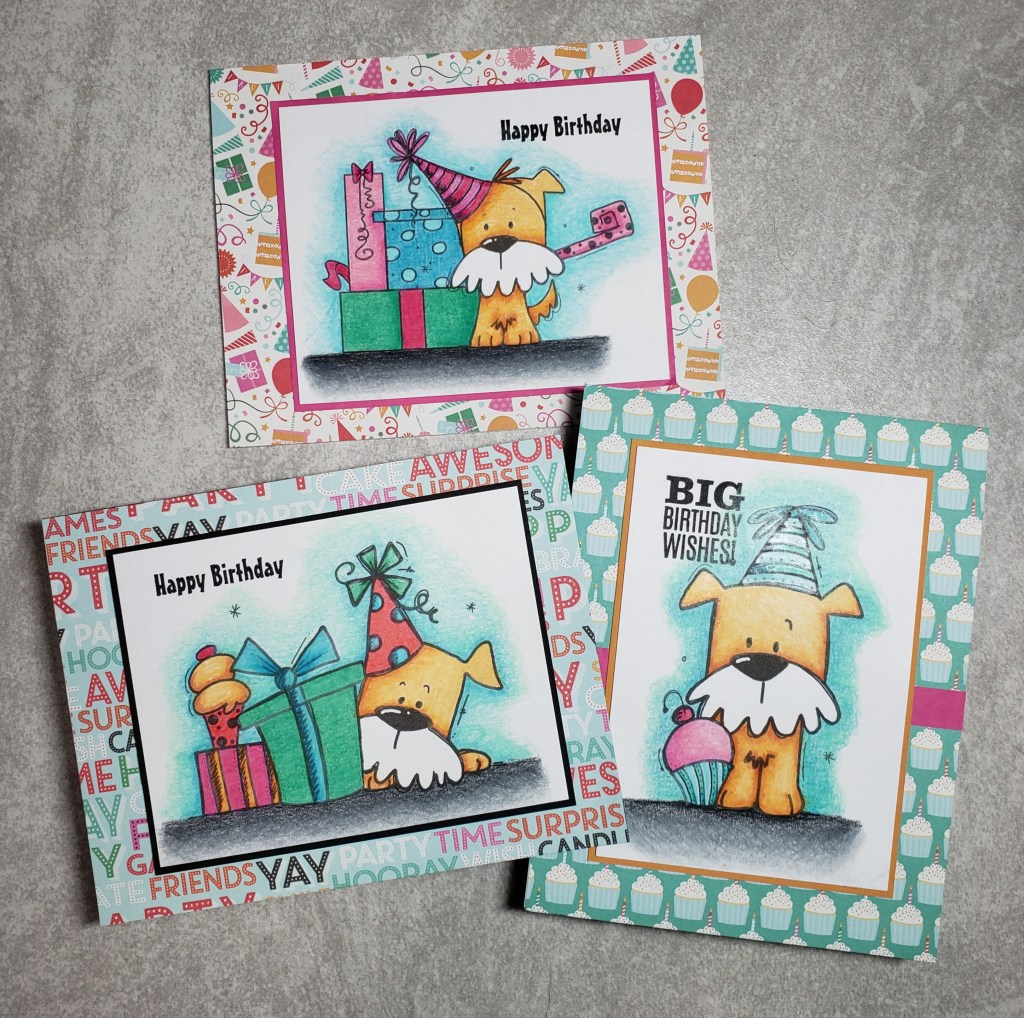
This month our theme is Gender Neutral cards and the supply is Stencils! Now, I gotta be honest… I started out with more gender neutral ideas but I’m not sure the final cards came out as gender neutral as they should have!!! You be the judge! I managed to finish 3 cards and I think only one really pulls off the gender neutral theme well. Let’s start with that one, shall we?
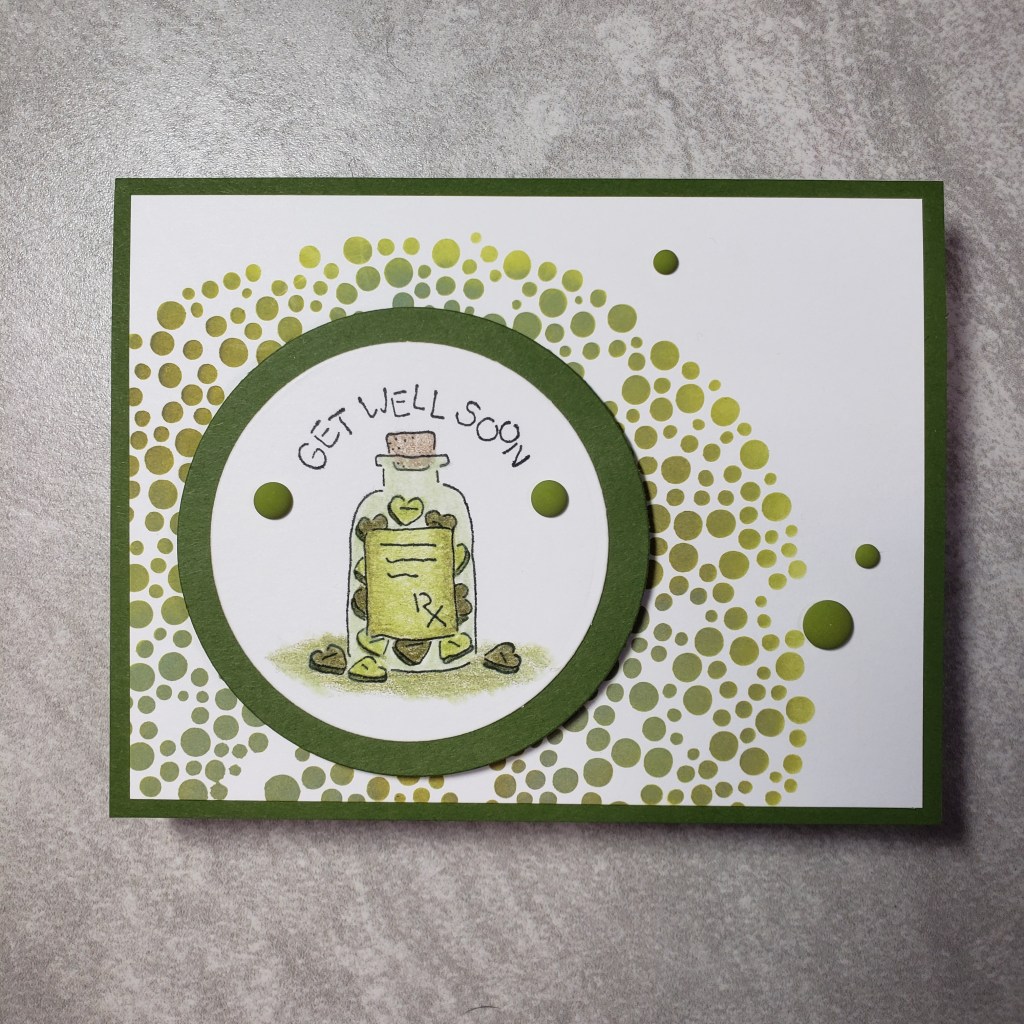
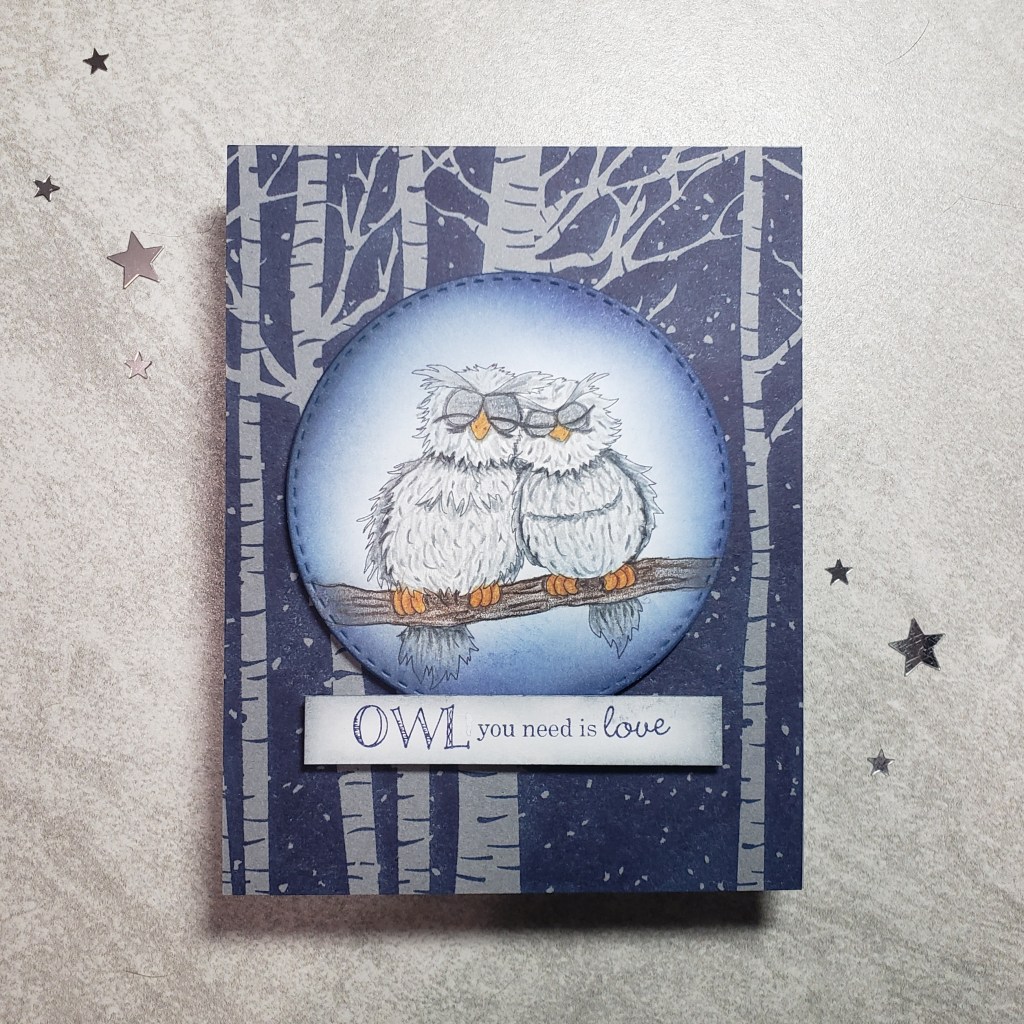
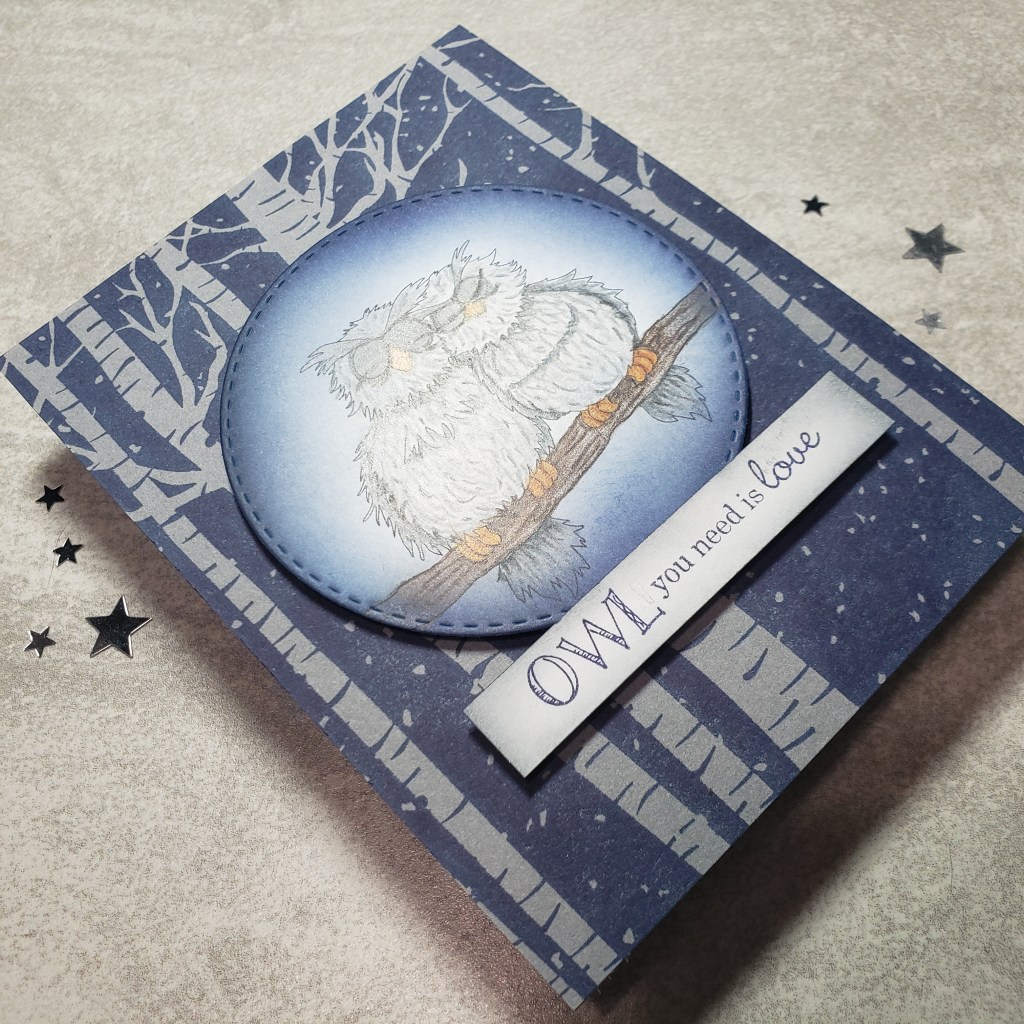
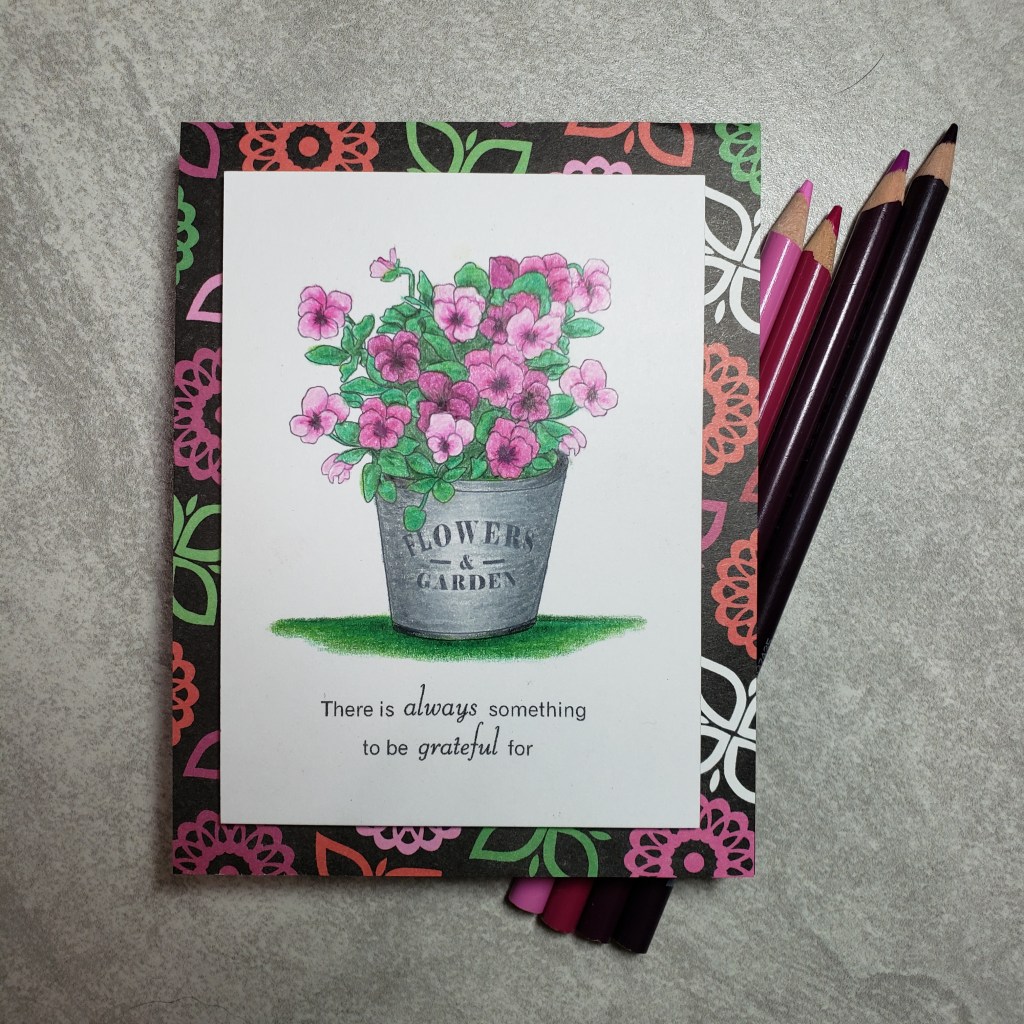
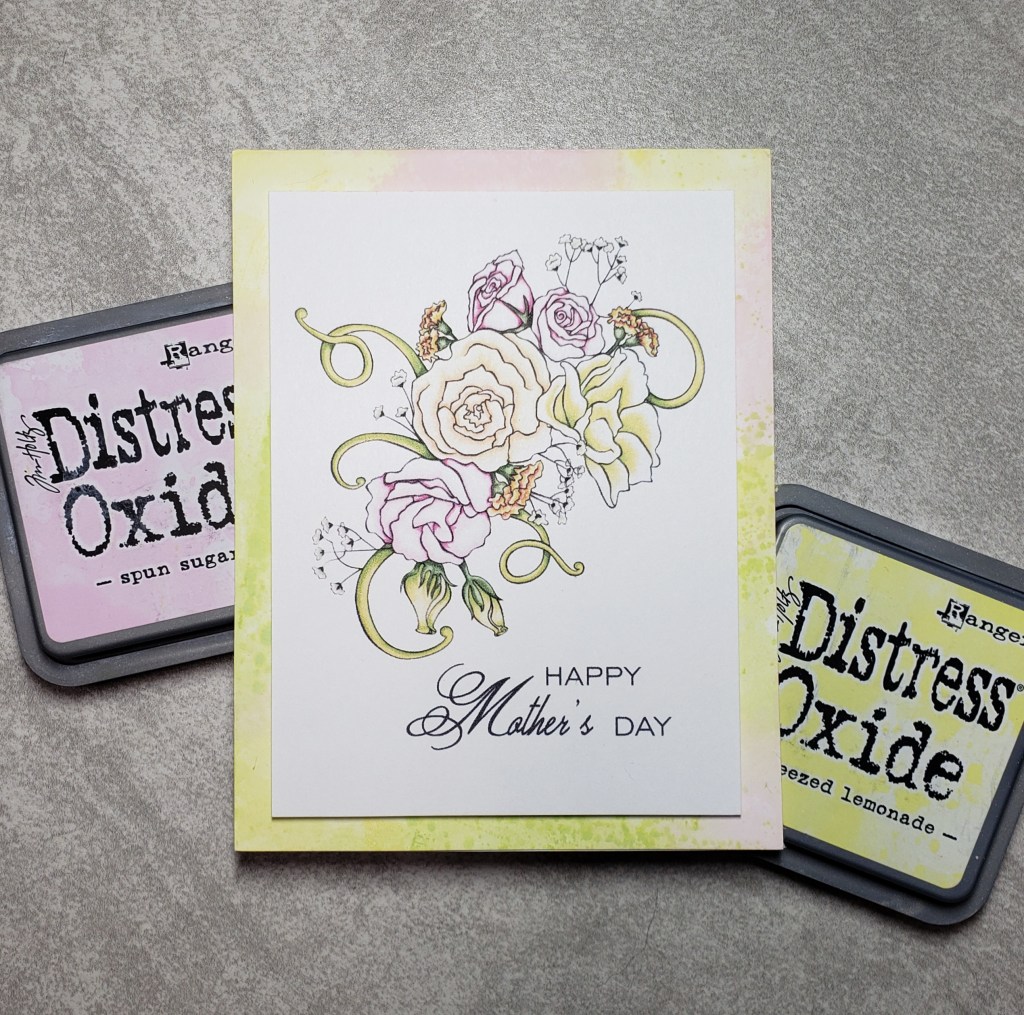
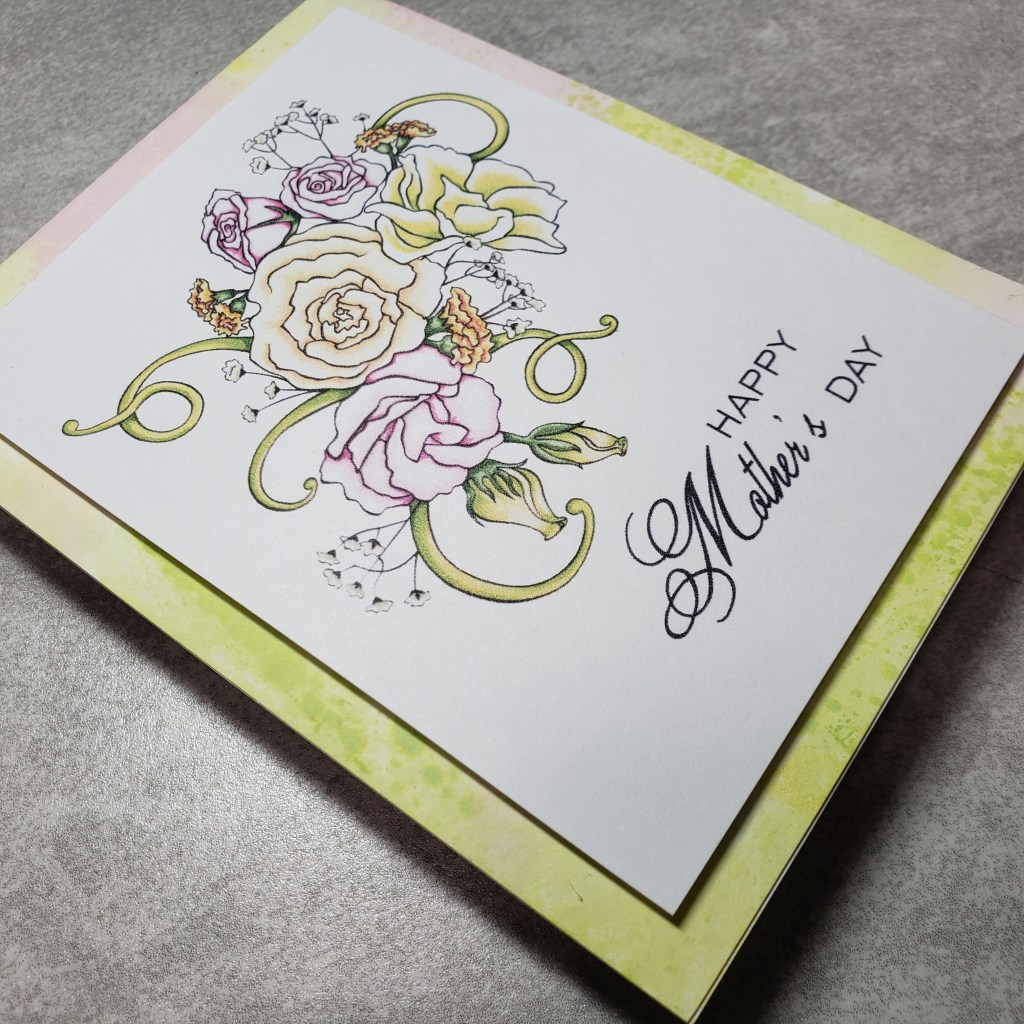
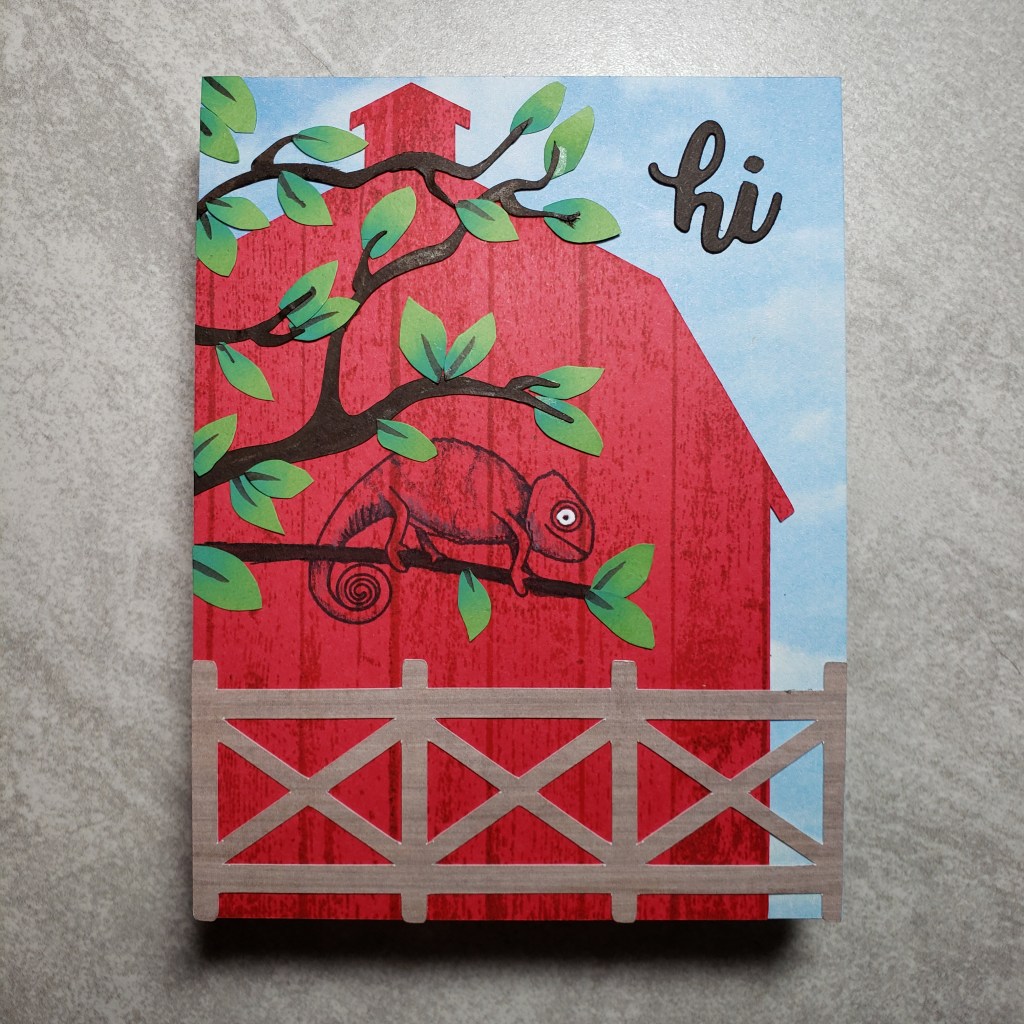
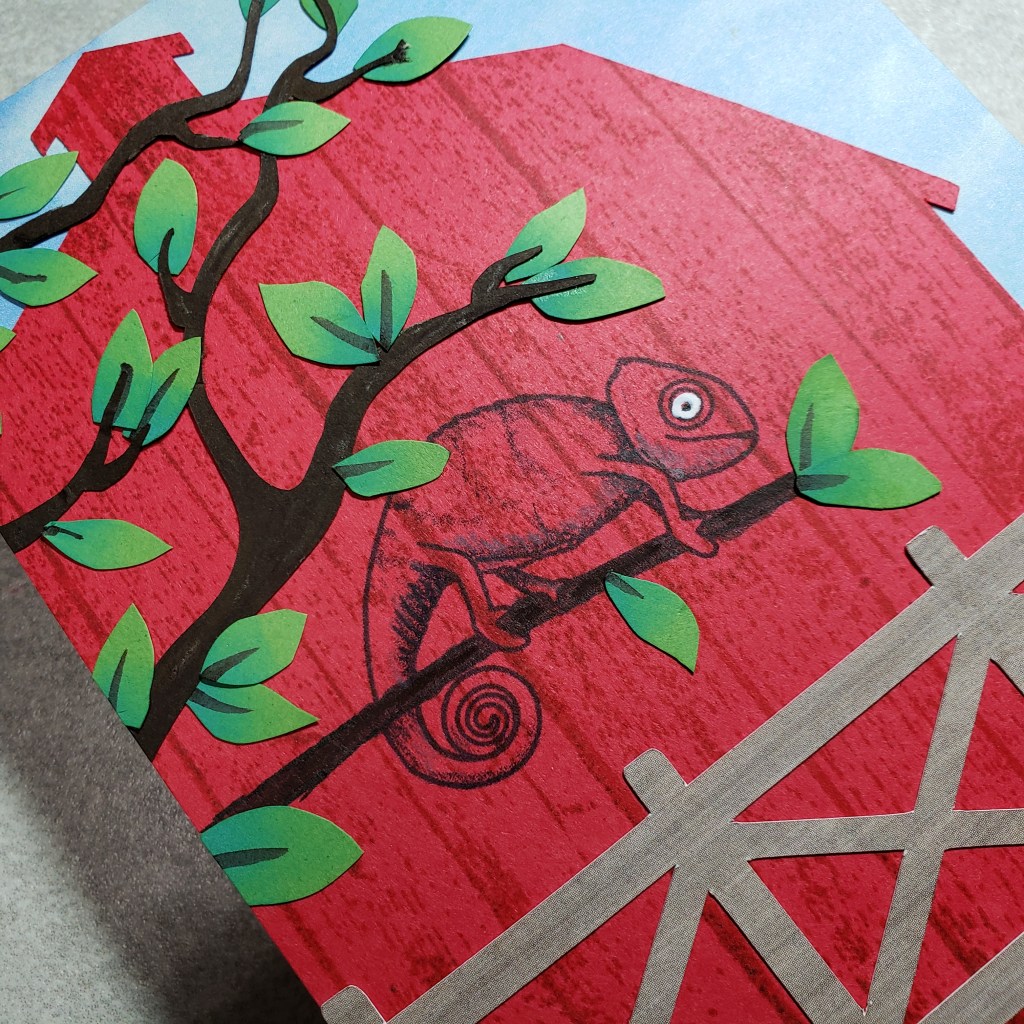
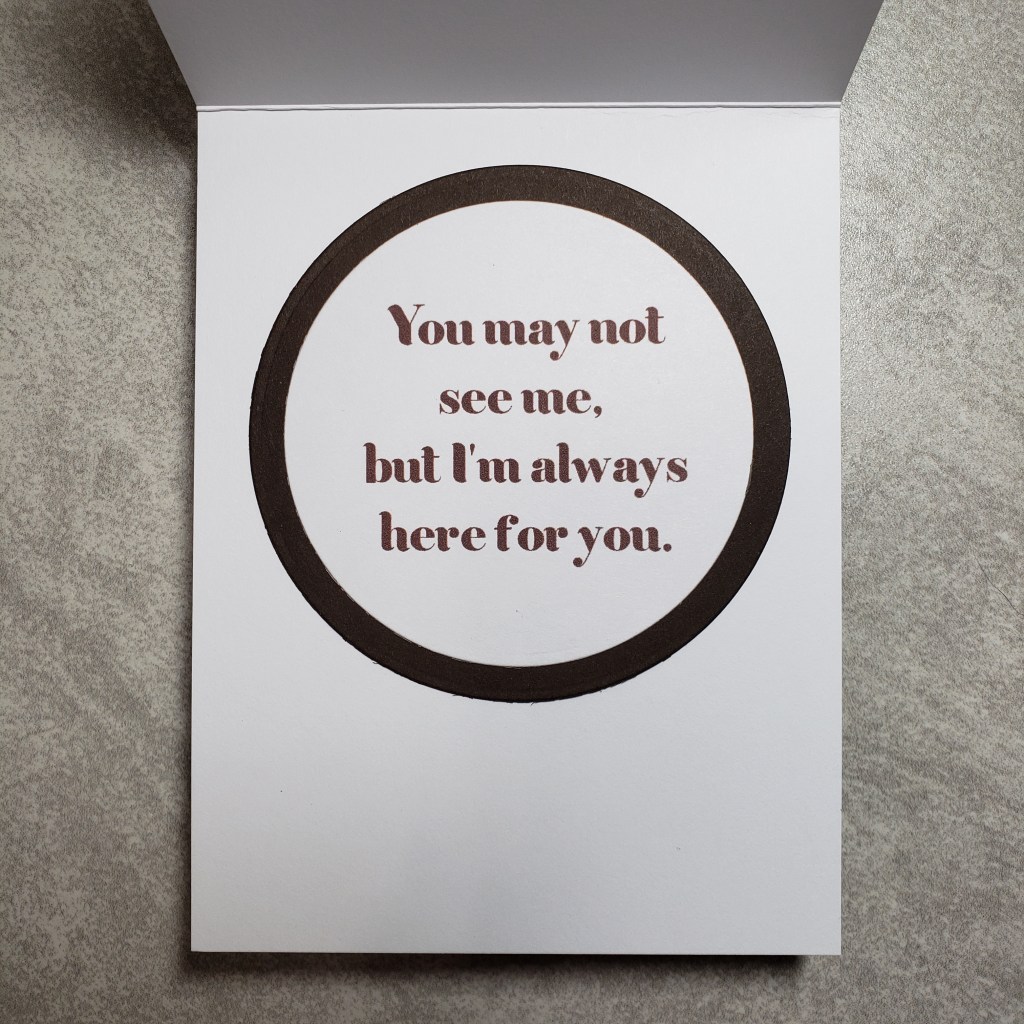
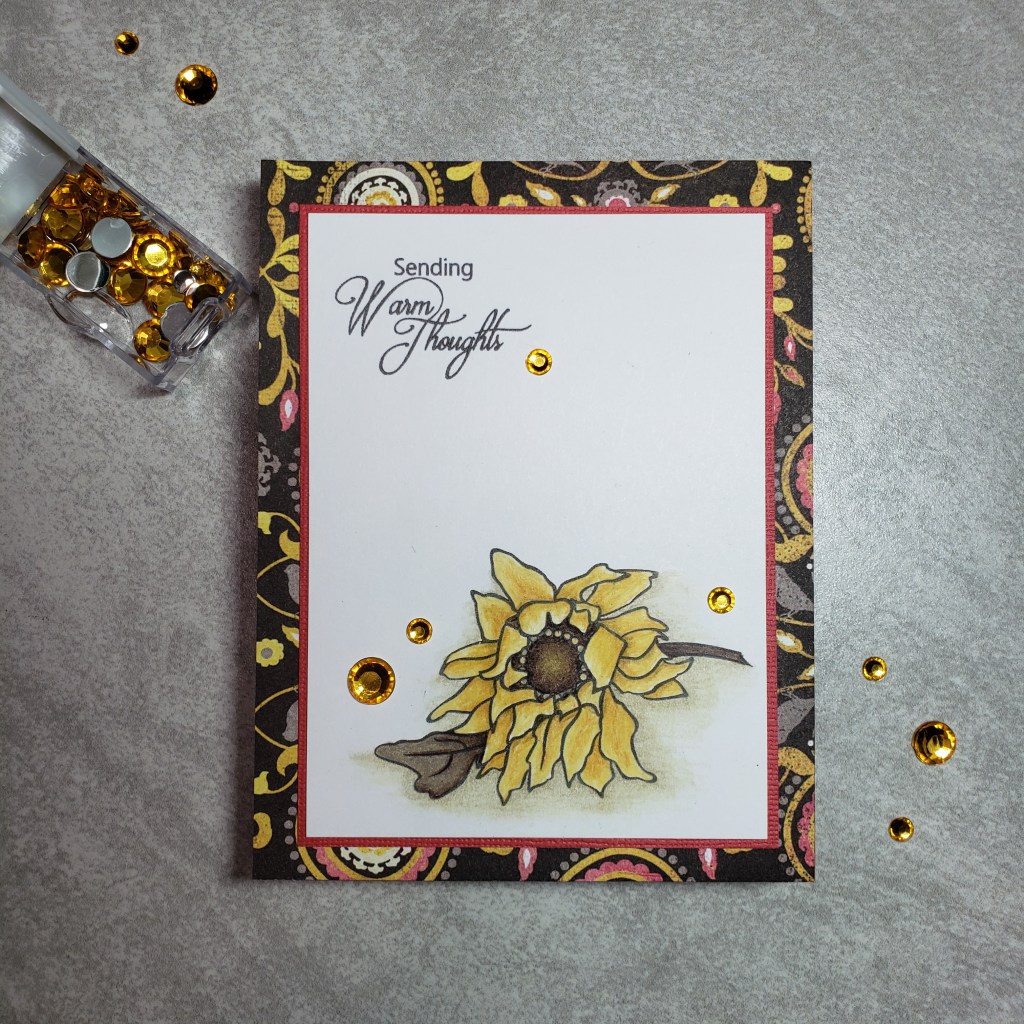
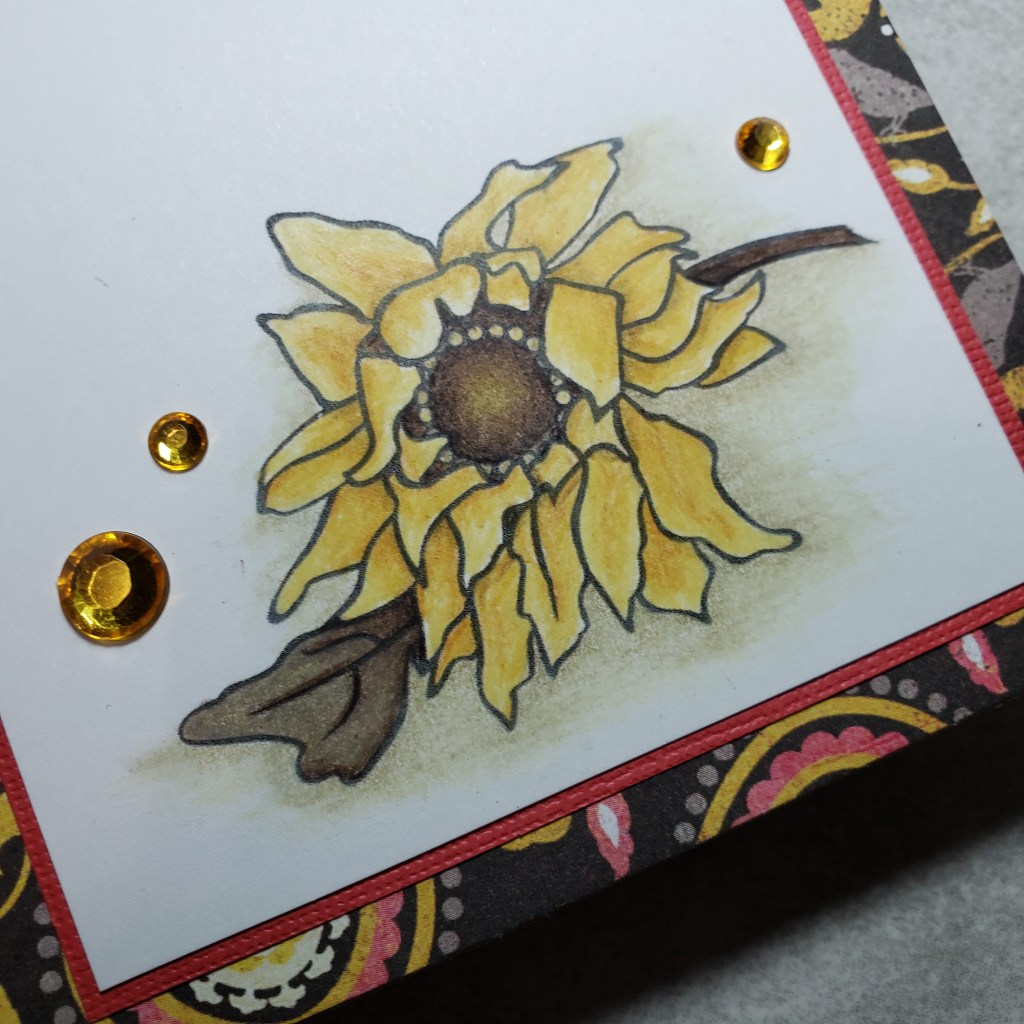
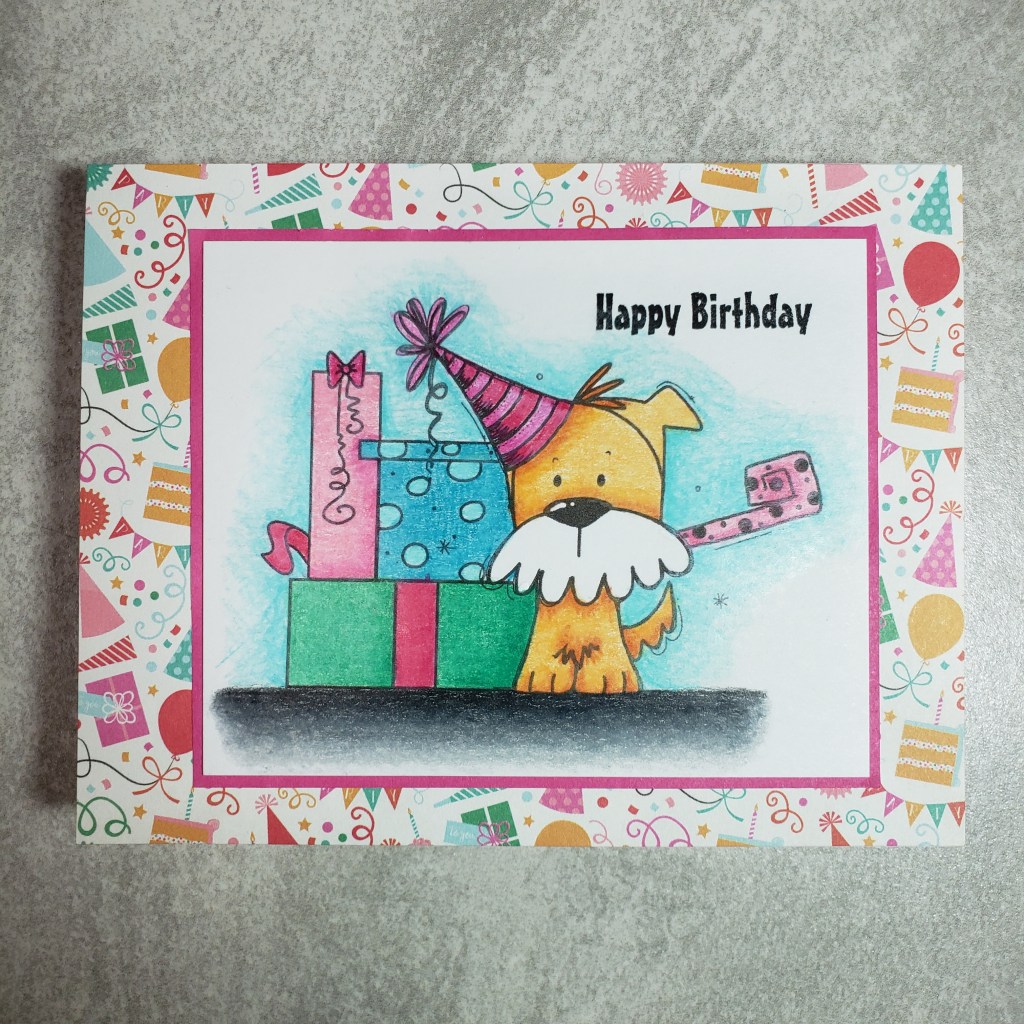
Talk about supplies that I’ve squirreled away! This card uses an old SU! set called Nice and Easy Notes from 1996! It also showcases an old The Crafters Workshop stencil… my first stencil ever… called Mini Microbial and some Distress Oxide inks. The image was colored with Prismacolor pencils and I added a few matte epoxy dots to give the card a little texture. Some Glossy Accents on the bottle might make a nice touch too! Speaking of texture…

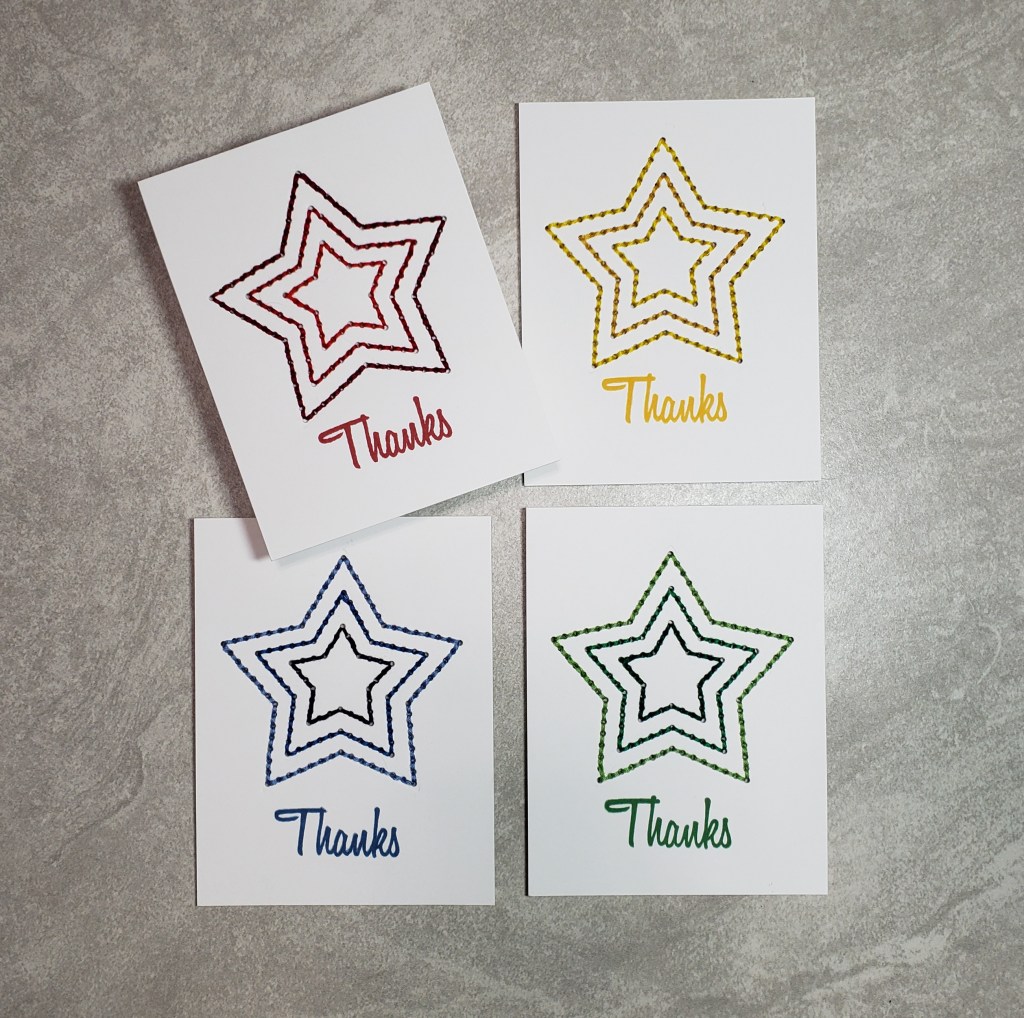
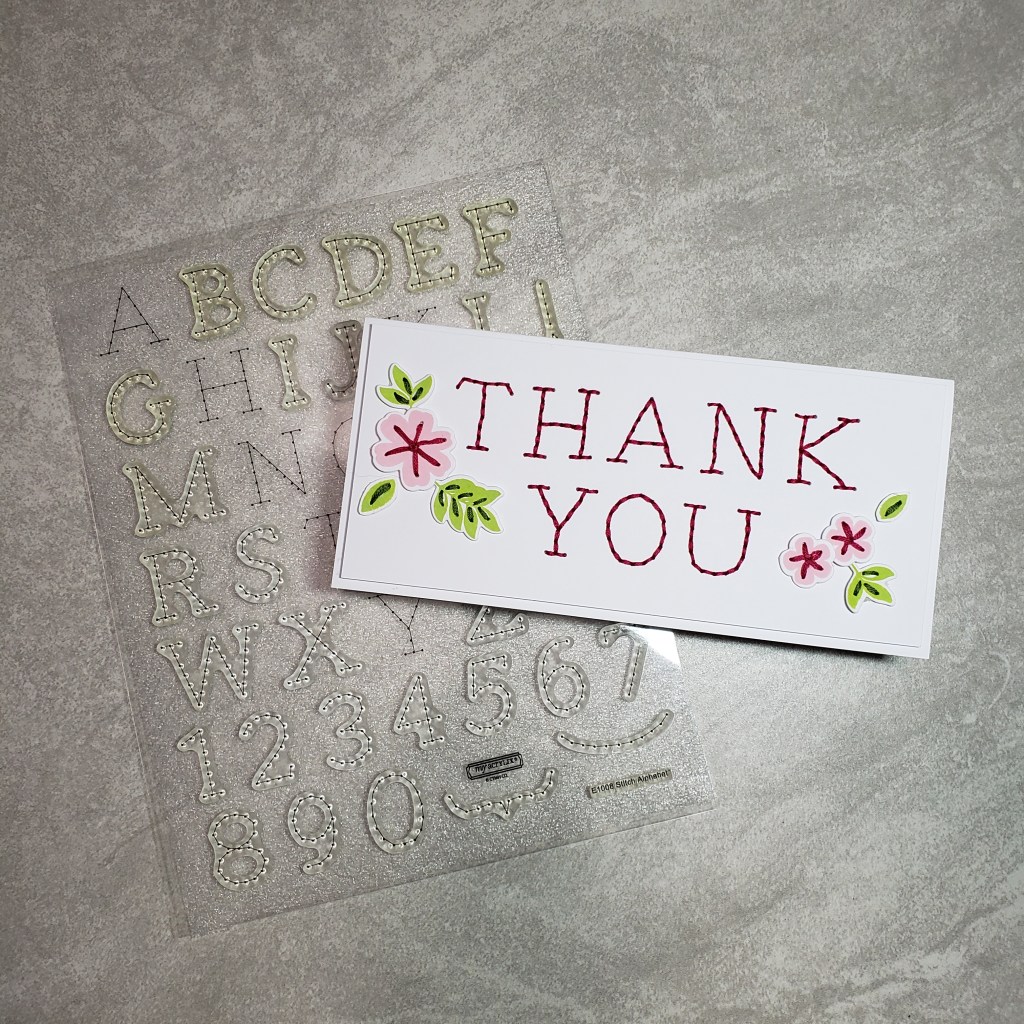
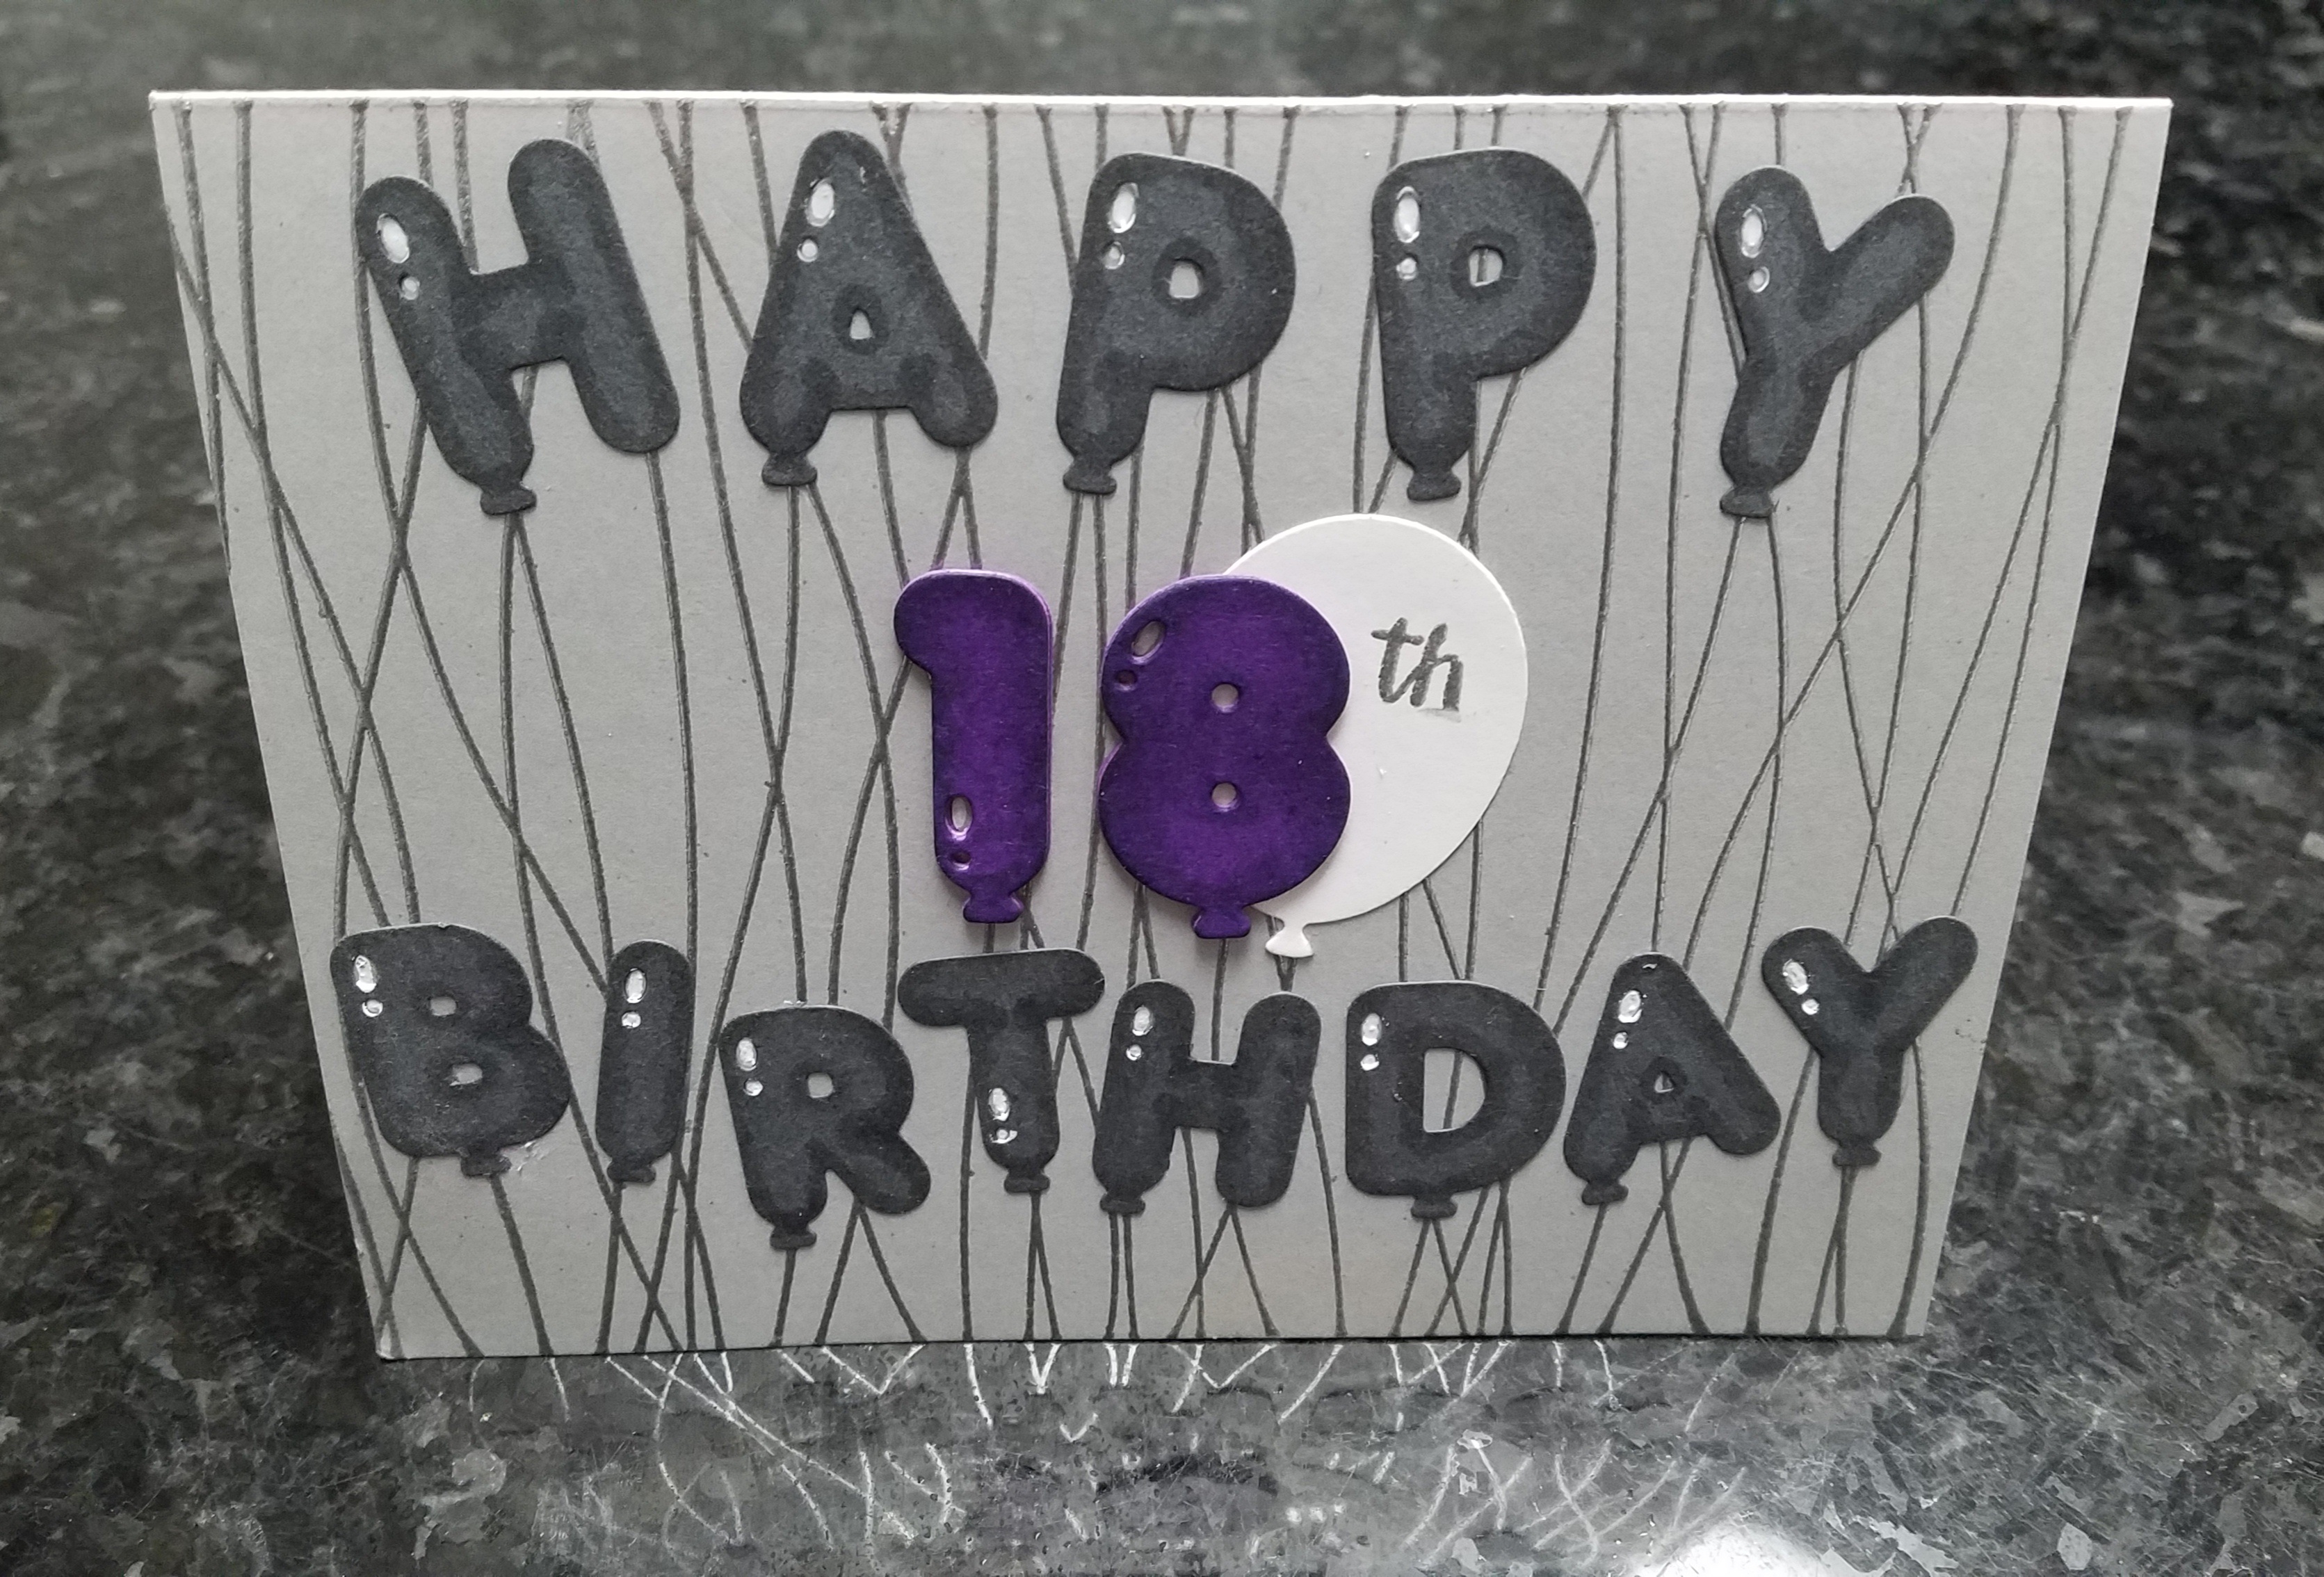
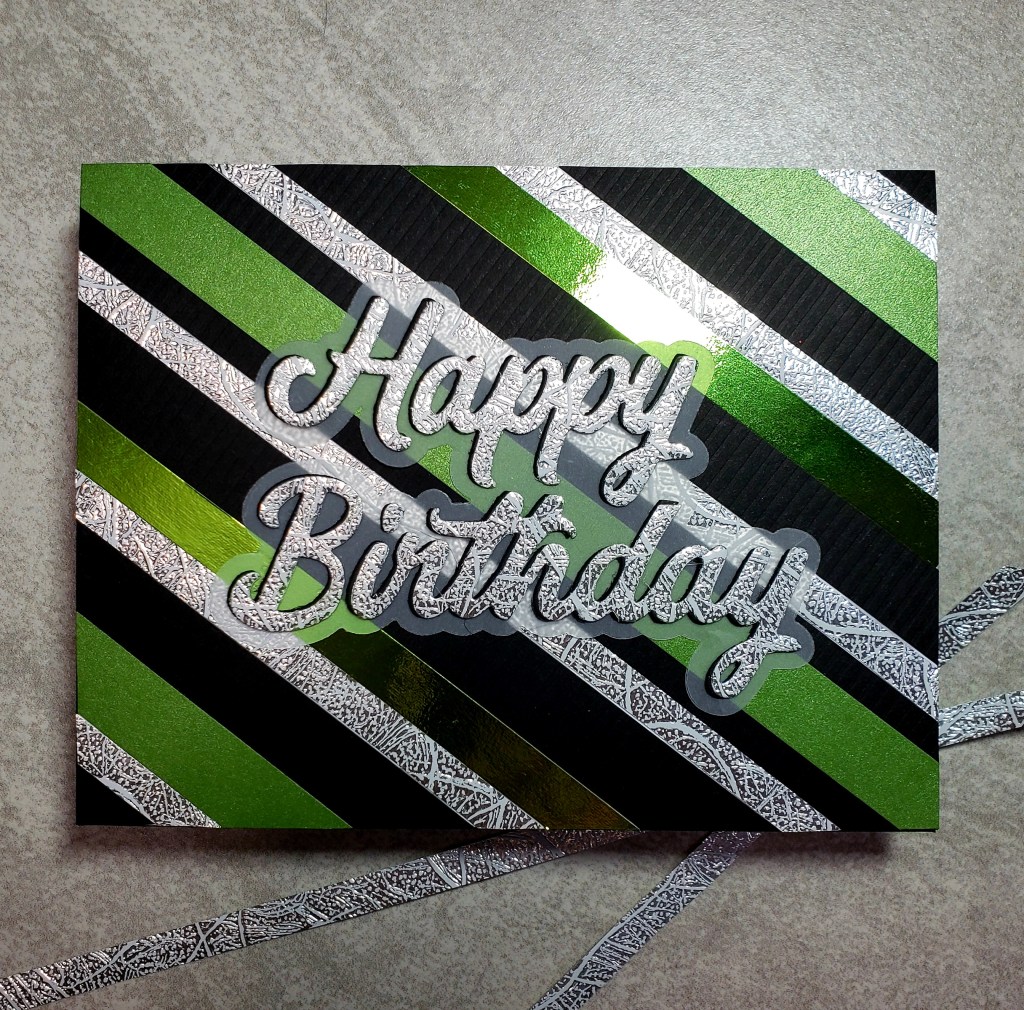
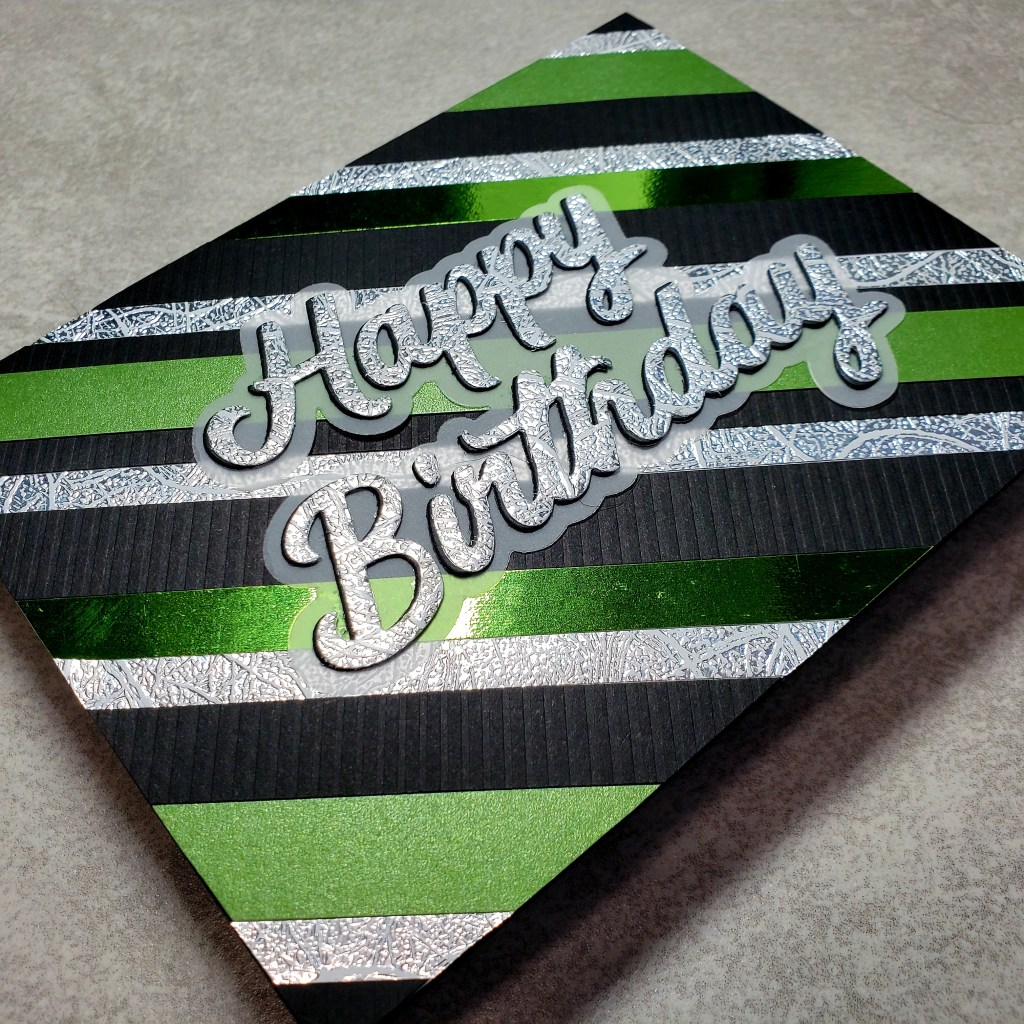
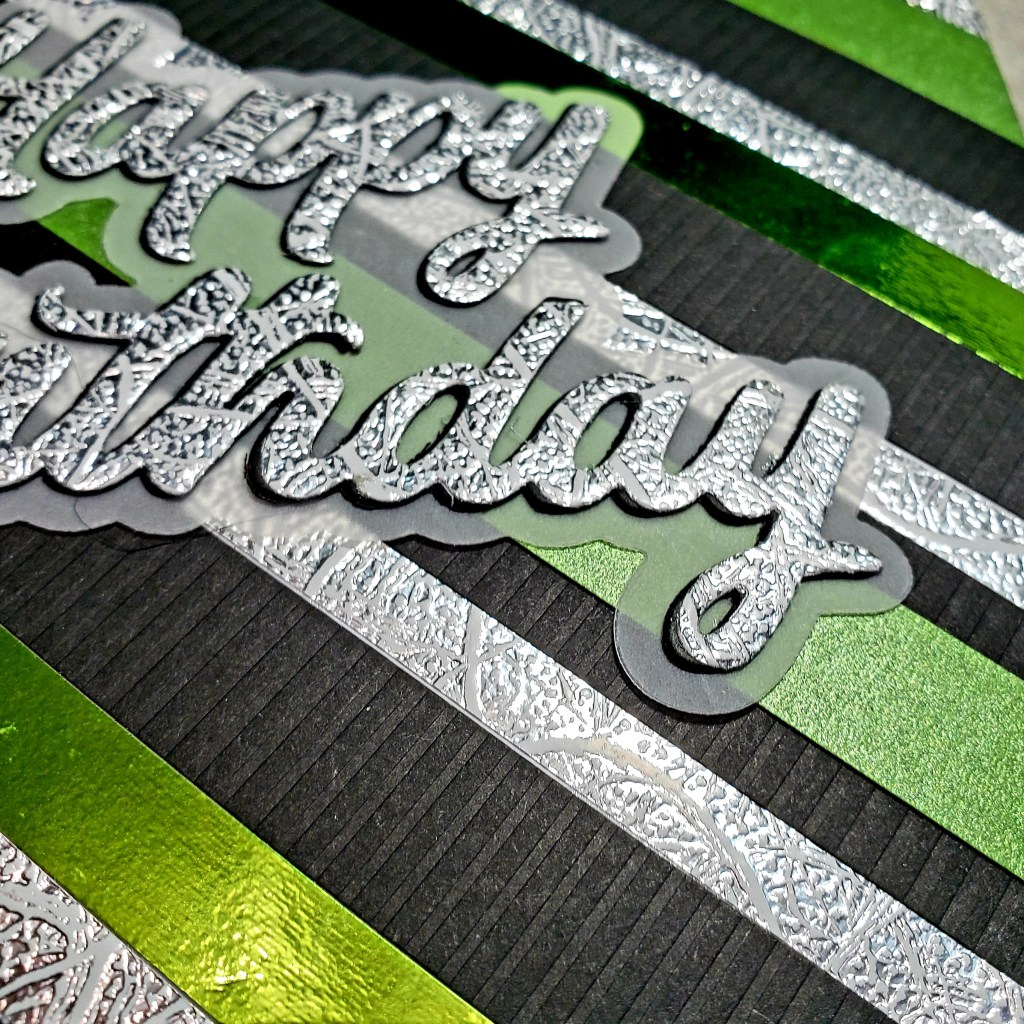
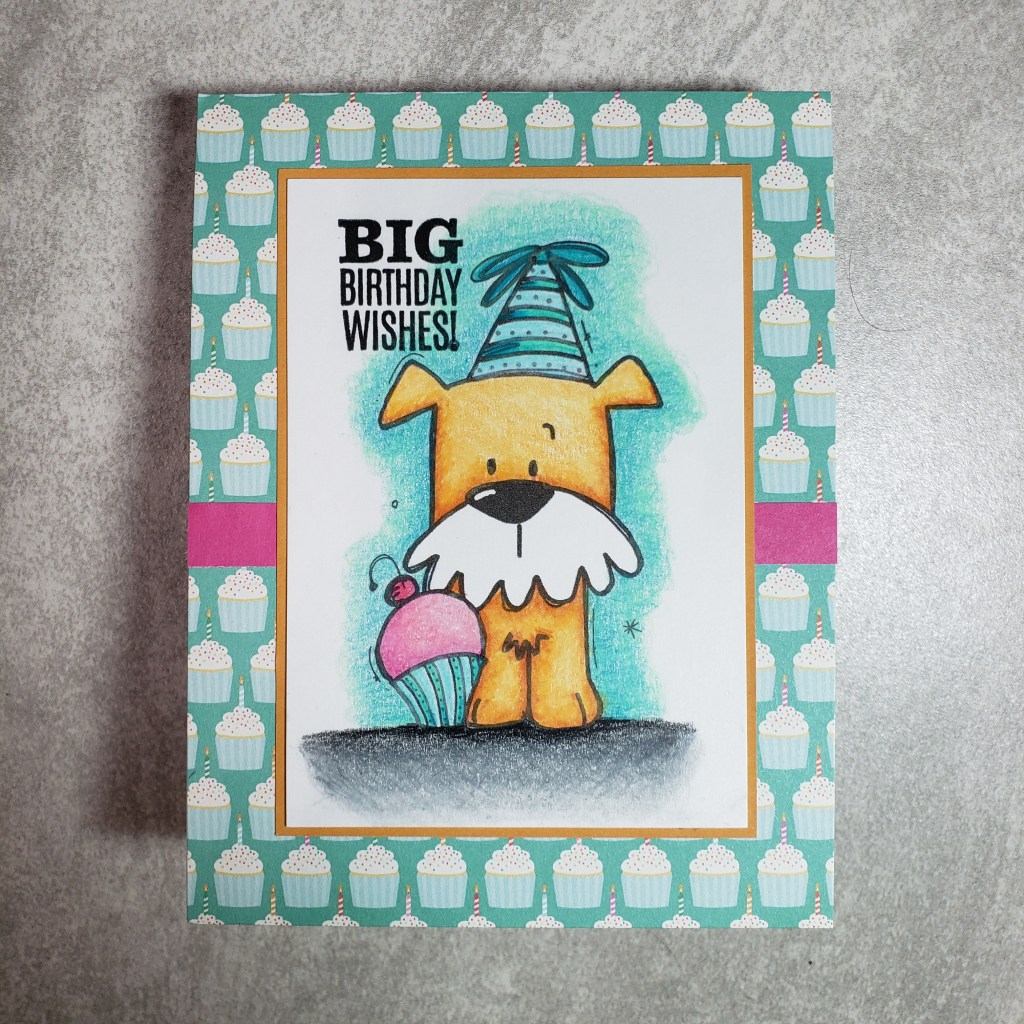
This card came to be with a color combo suggested by my hubby, and its his birthday card too! The stencil used for this one is called Radiating Rays from MFT. I had a couple gold embossing pastes to choose from but most are uber glittery. This one has a slight glitter-ish look but its more like a gritty shimmer. LOL, that sounds attractive, eh? I promise IRL its very cool and feels fun to touch! The die cut sentiment is from Photoplay and its part of their Cake collection. (I’ll forgive Photoplay for not providing an option to include the letter innies given that it was the only die or stamp that fit the space on the stencil perfectly. I’m surprised I bought this actually as solid letters like that are a pet peeve for me!!!) I had a fun, textured posterboard in this mottled gold color that I used for the die cut and it matches perfectly! There was no way these dies would have cut through paper coated in the texture paste! The stamped sub-sentiment is from MFT’s Birth-Yay set and was embossed in my more yellow gold Ranger embossing powder. What do you think… is this one gender neutral? The next card is a stretch, for sure!!!

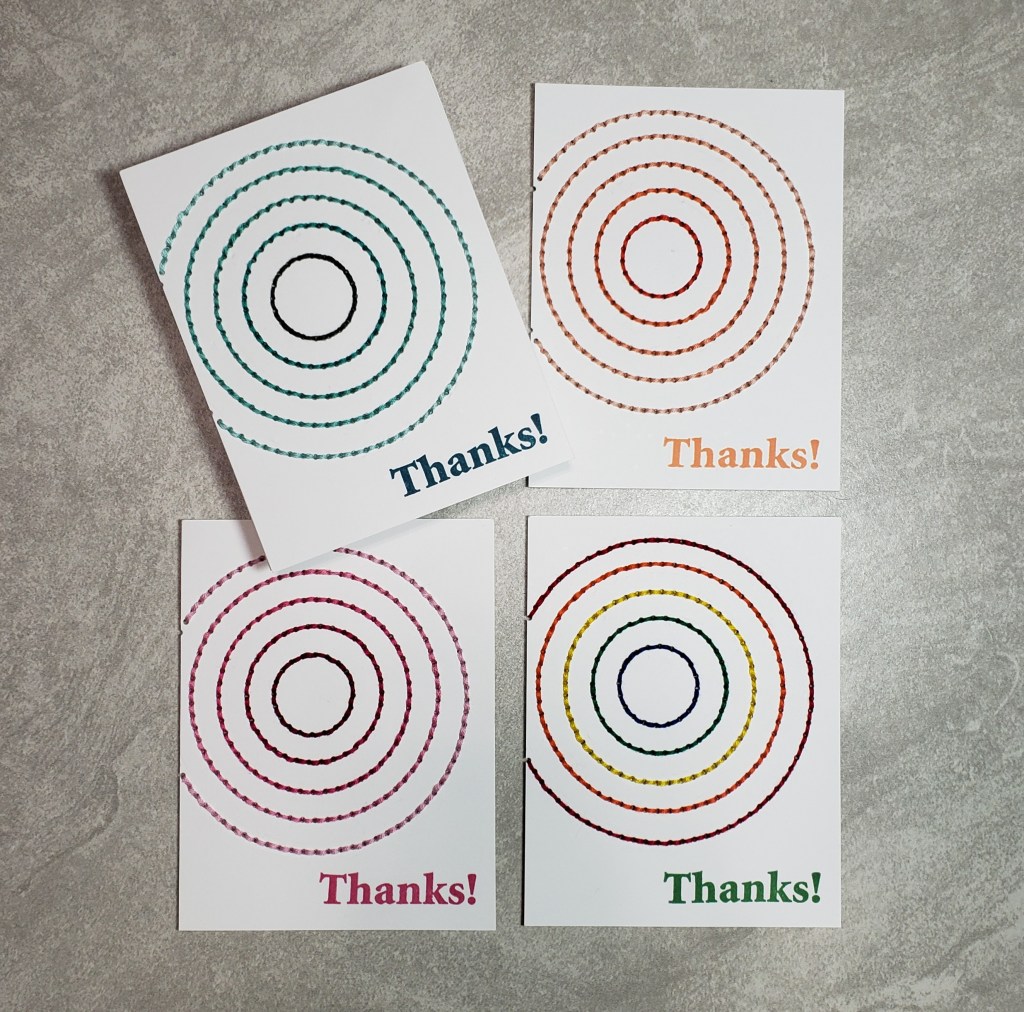
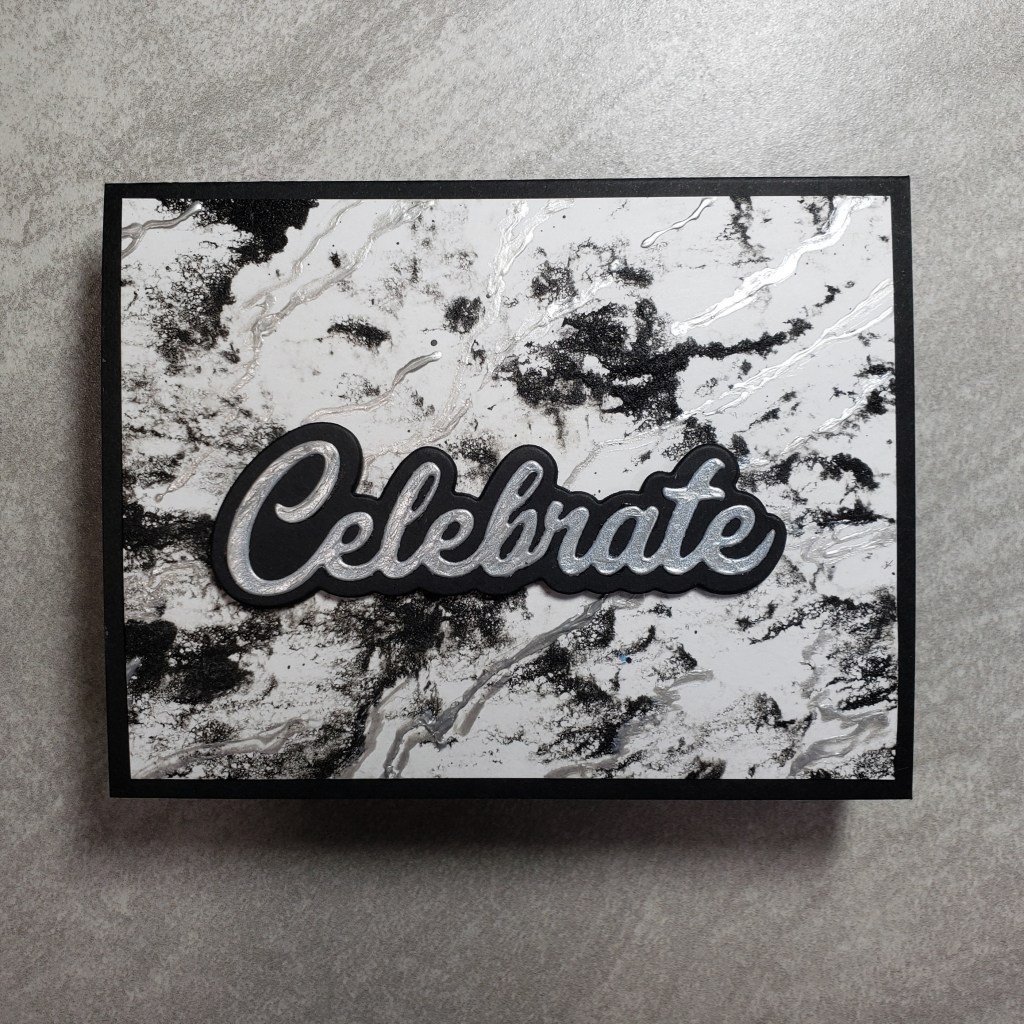
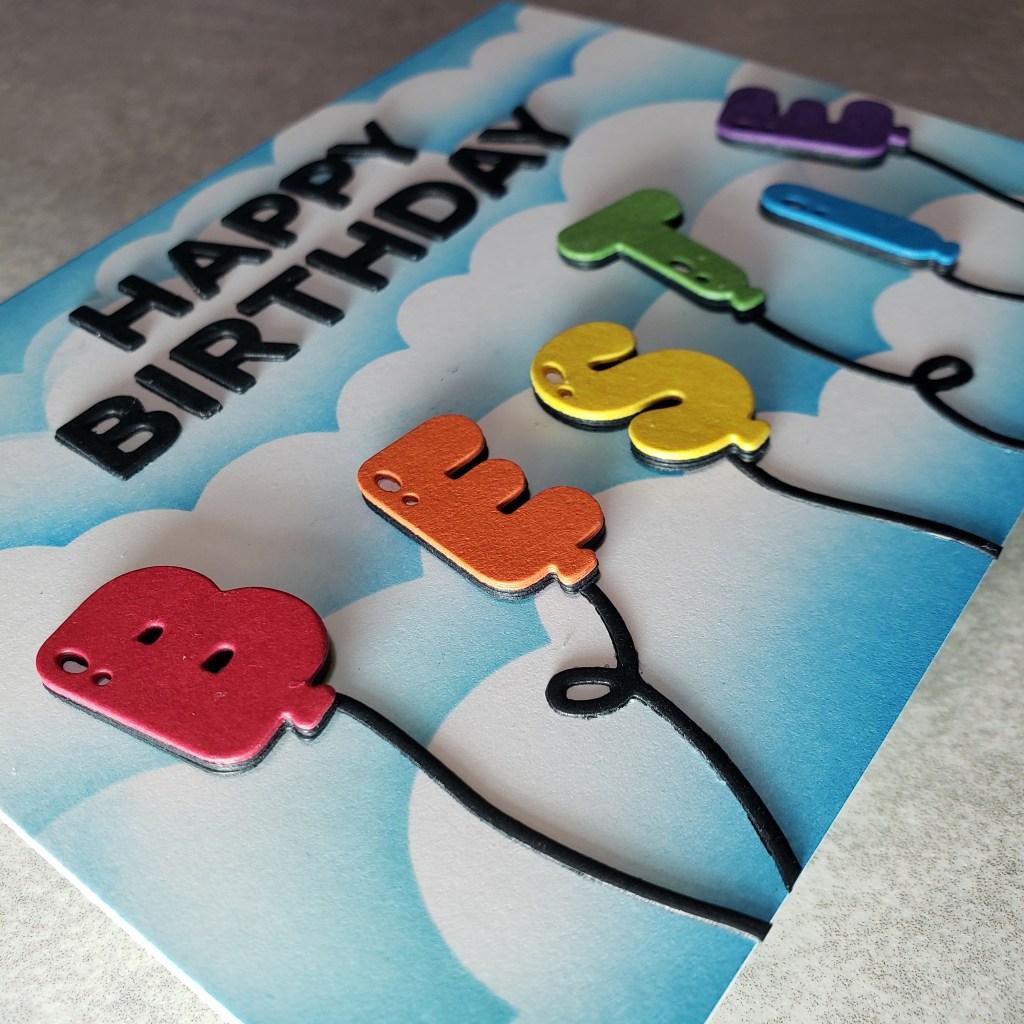
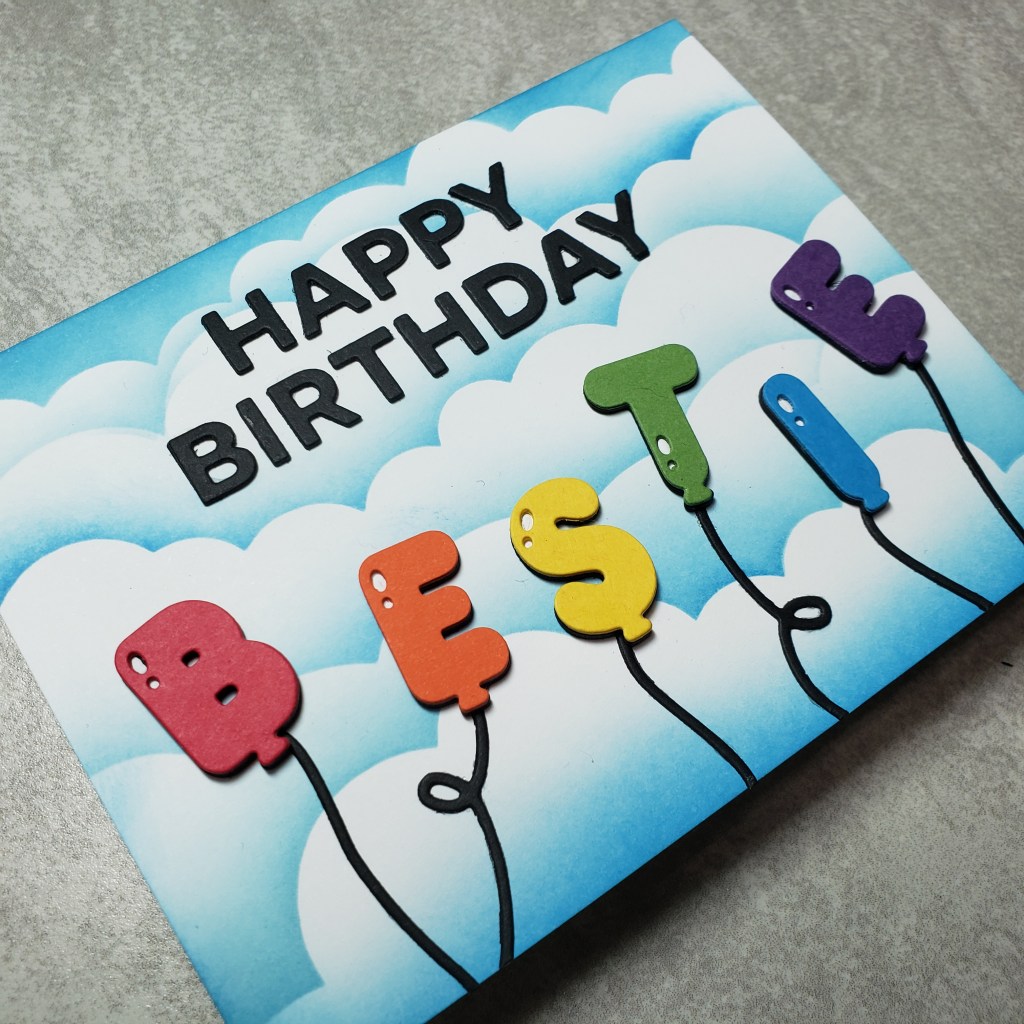
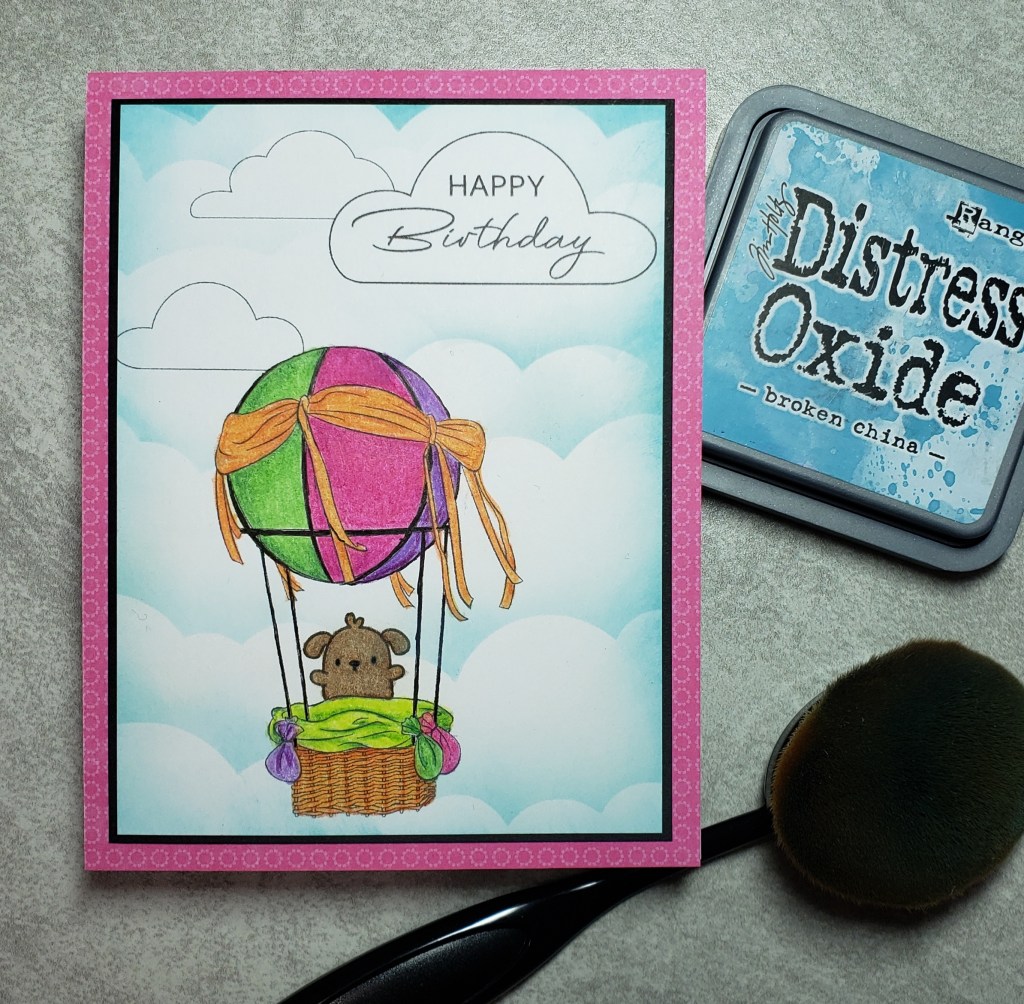
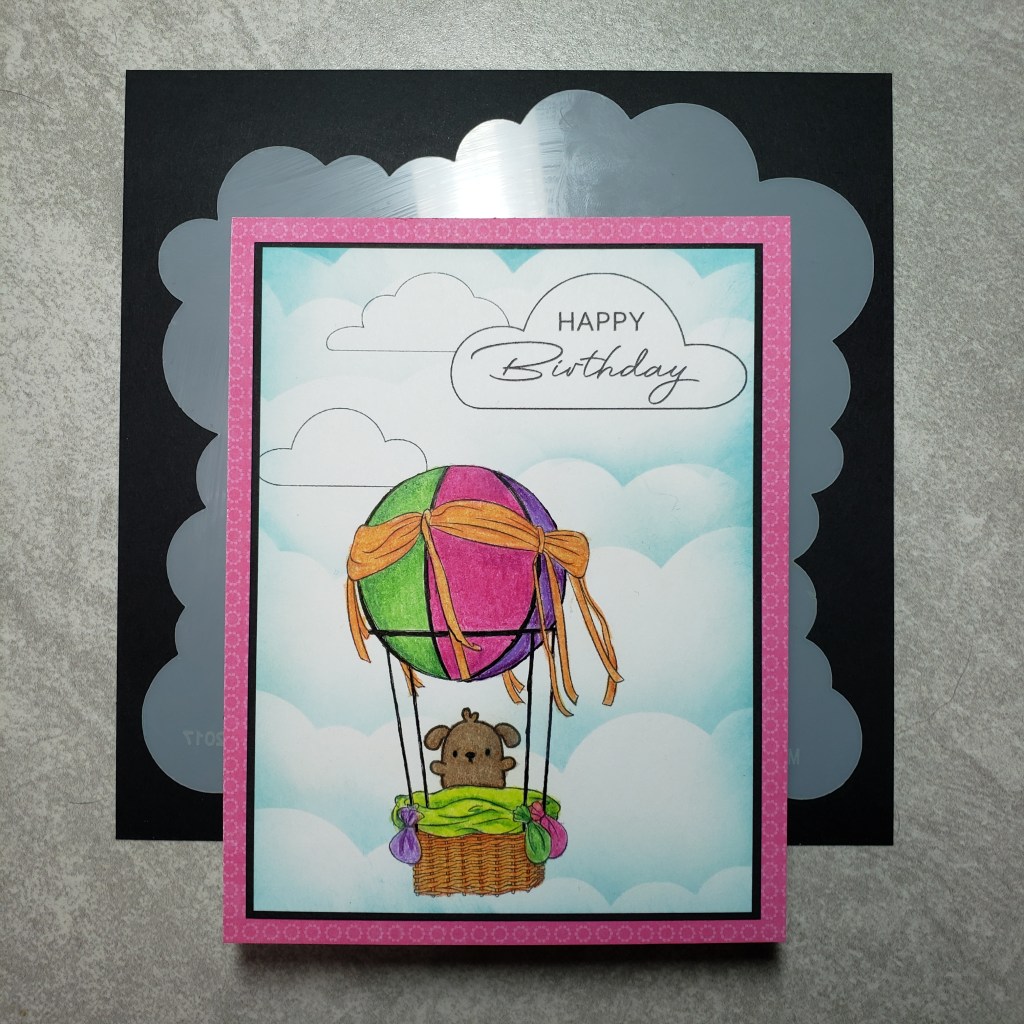
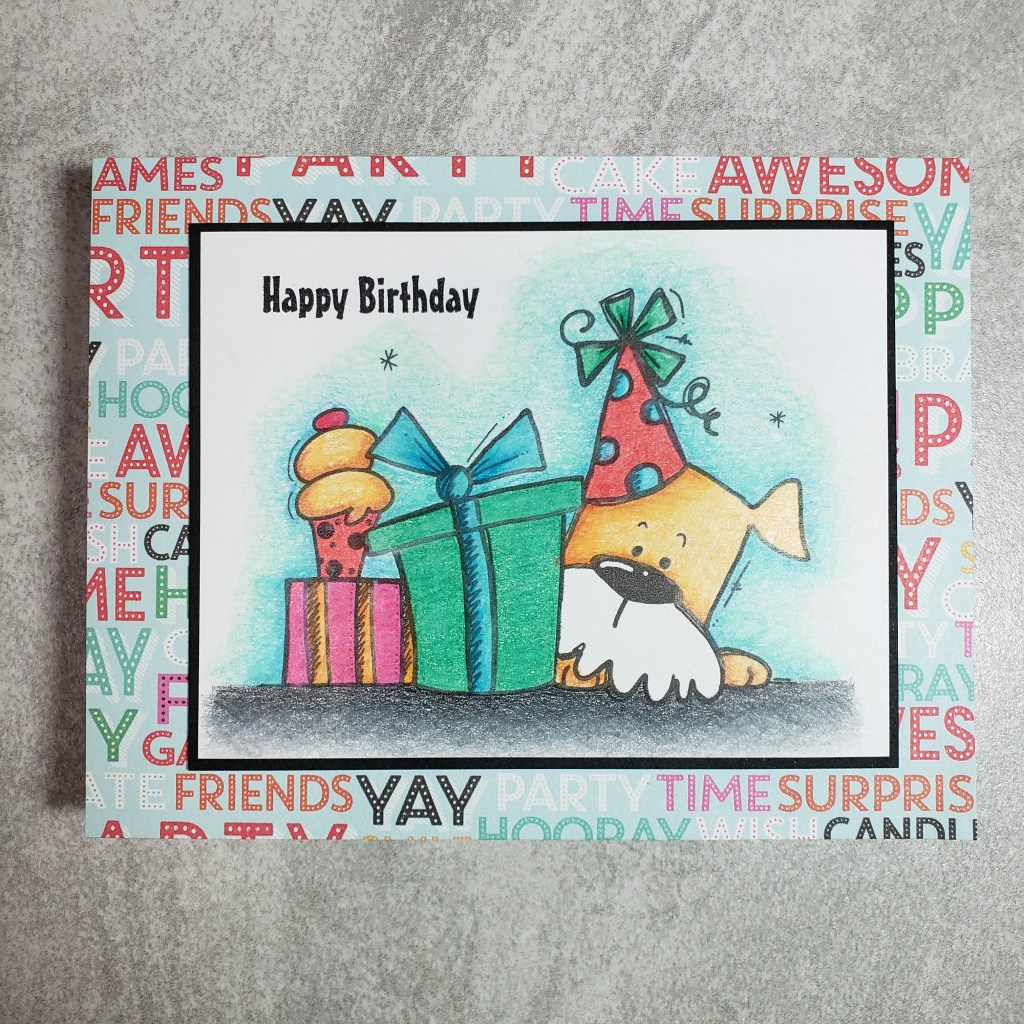
Now, here’s where I admit that I got a little sidetracked on the theme. I got tired playing with the colors I had out and before I knew it I made a rainbow ink blended card panel, complete with sparkle embossing powder by Wow! over all the balloons. Not wanting my efforts to go to waste, I grabbed up that Photoplay Cake die set that was still on my desk and die cut the celebrate sentiment. Now this card could be used as a birthday card or a celebration of a gay couple (male or female). I like the black touches and how it tones down the rainbowy sparkle business a wee bit, but not enough that my gay friends would be disappointed. 😁 The background are just scraps of matching cardstock but you could have easily cut these to be fringed to kick it up a notch! So…. “technically” a gender neutral card. Maybe? (V, consider this your virtual birthday card from me this year cause you sure don’t want anything from my house showing up in your mailbox for awhile! Hope you had a fabulous birthday weekend!!!)
My garbage can is full of colorful garbage this month… plenty of ideas that failed or never worked well enough to use. I’m glad to have been able to pull these together in time to play along with my super talented friends. Here is the full lineup and I would love if you would visit them next because they undoubtedly made amazing cards to share with you! And be sure to follow their blogs or find them on Instagram, cause these ladies will fill your feed with gorgeousness!
- Lounon Riviere
- Boryana Yankova
- Anna Mahtani
- V Fairchild
- Marie Bingaman
- Karen Page – YOU ARE HERE
Thanks so much for dropping by today!!!